My wife asked if she could come along for a hike, but she didn’t want to do something difficult. I asked around and got a few good suggestions but they seemed too easy. After scouring google maps and thinking back to trails I have ridden, I settled on Minghaishan 鳴海山.
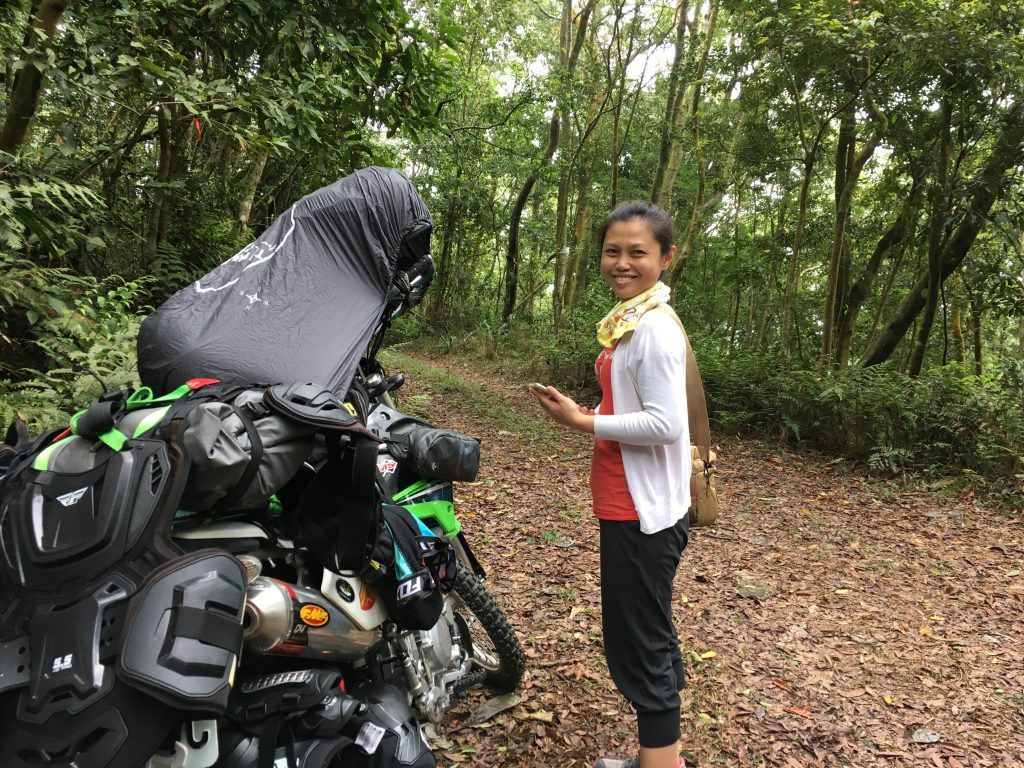
The Minghaishan hike traditionally begins at Maolin village. My wife would kill me if I tried to take her that route. So instead we drove near the Duonagao Suspension Bridge 多納高吊橋 on a road that takes you to the Meiyagu Falls 美雅谷瀑布 parking lot. Before the parking lot there’s a road/trail system that takes you up the mountain pretty darn close to the ridge line. You would need a decent motorcycle or 4×4 to make the last few switchback, but the majority of the drive is easy enough. There are two trails from the main road. I recommend taking the left trail. (Note: As of early 2019, you MUST take the left trail. It’s not possible for vehicles to make it up the right trail due to a landslide. Also, the road to the top is much better and has been extended to come within close distance to Wangzishan.)
You can refer to my earlier post for a write up on that trail system. http://outrecording.com/maolin-wanggong-shan-%e7%8e%8b%e5%85%ac%e5%b1%b1/
After securing the bike, we set off.
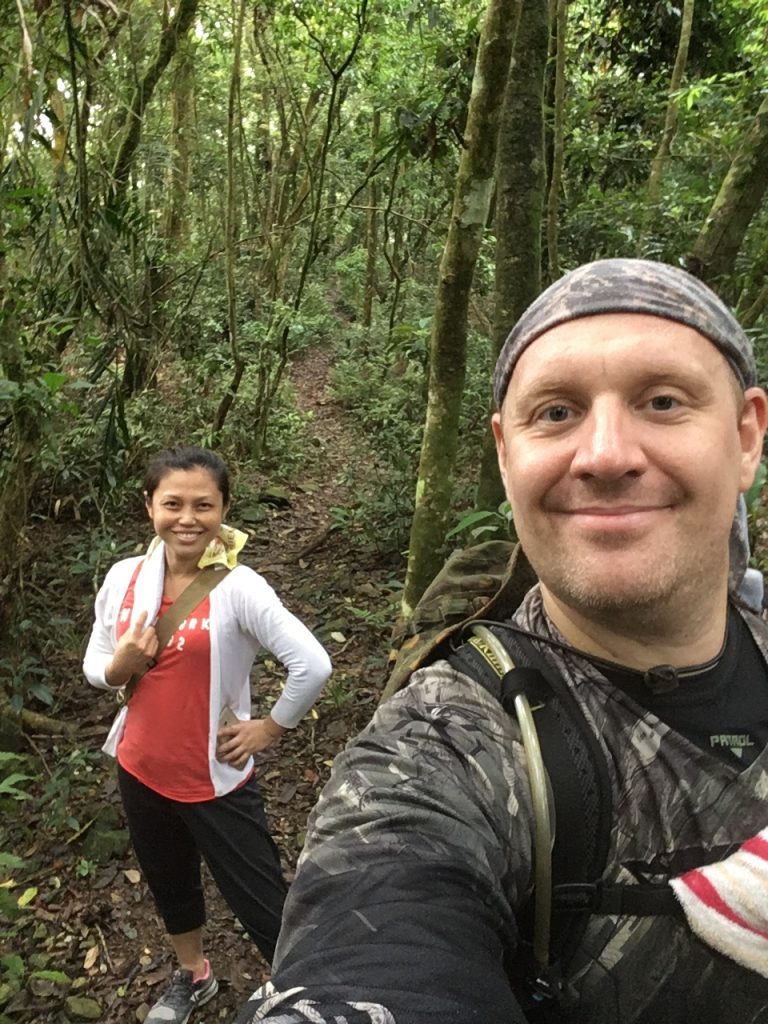
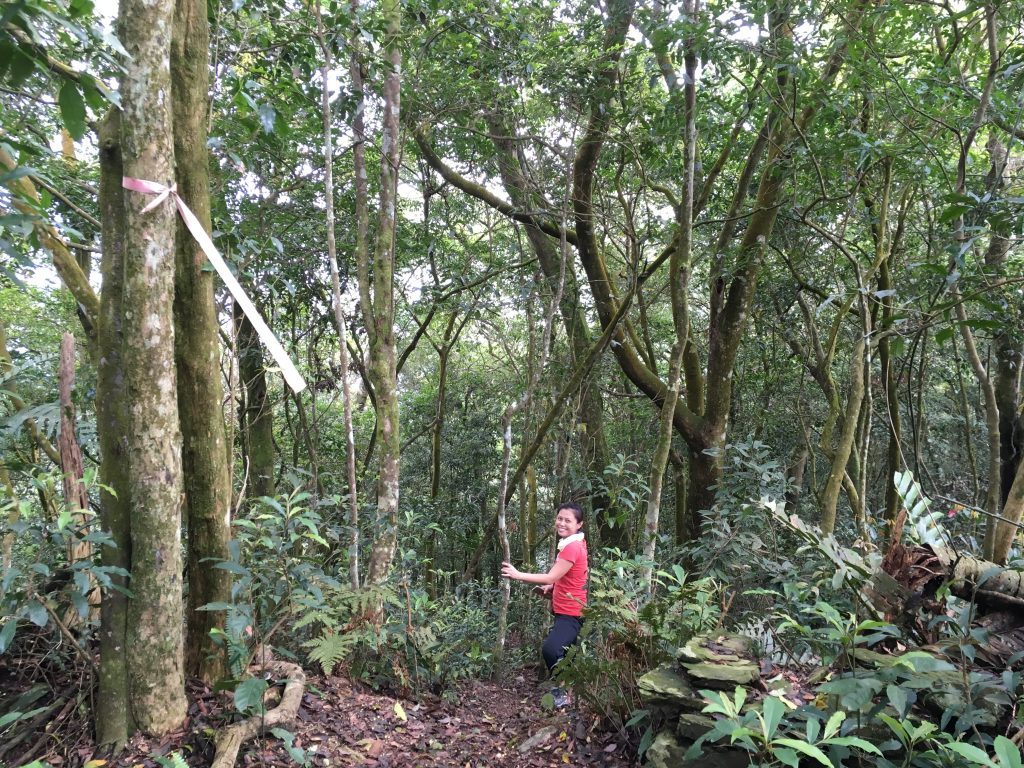
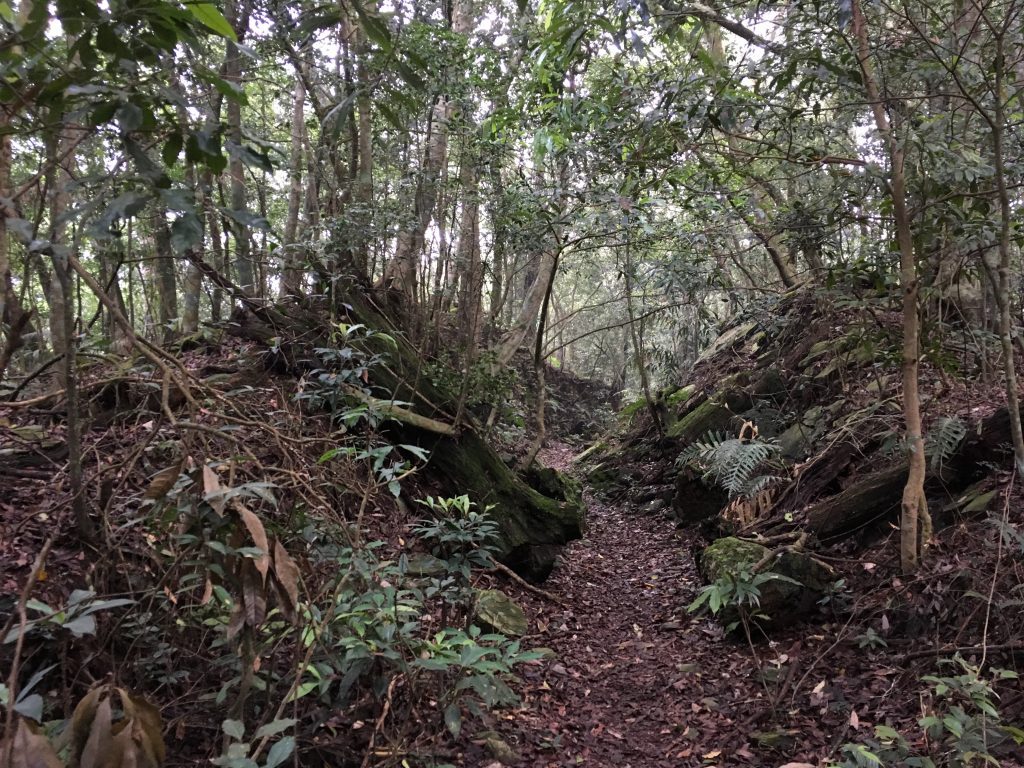
From the “parking area” it’s only about 200 meters to the ridge. The trail is well worn and marked frequently the entire way.
Along the way to Minghaishan we passed two (or three?) other peaks.
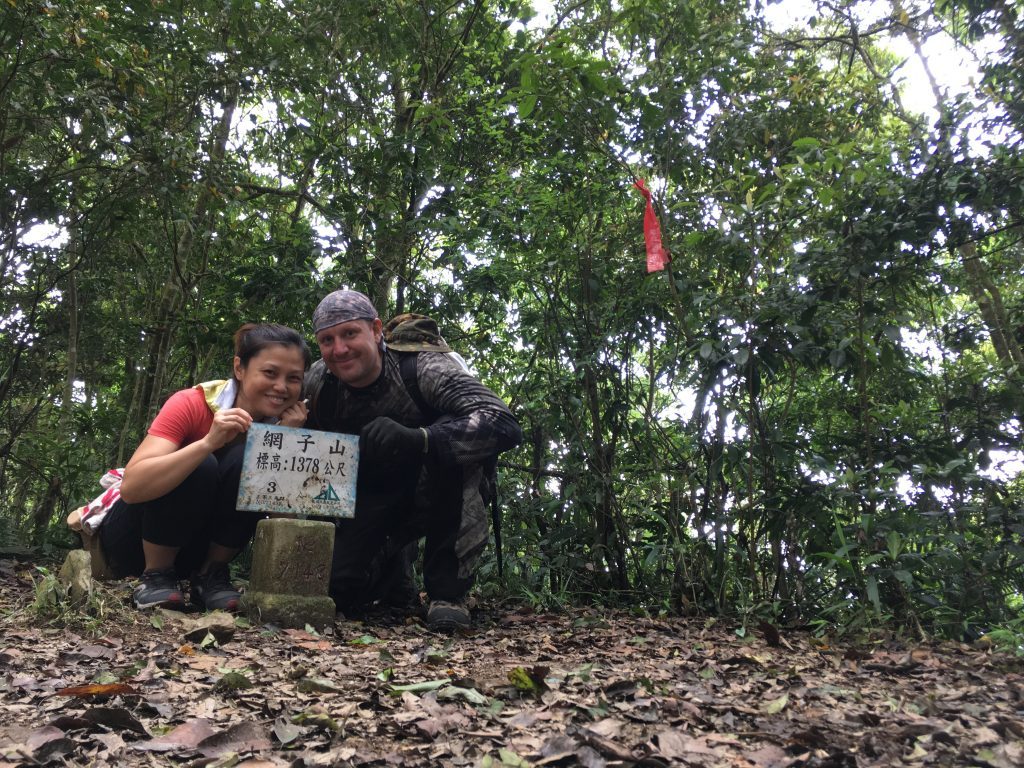
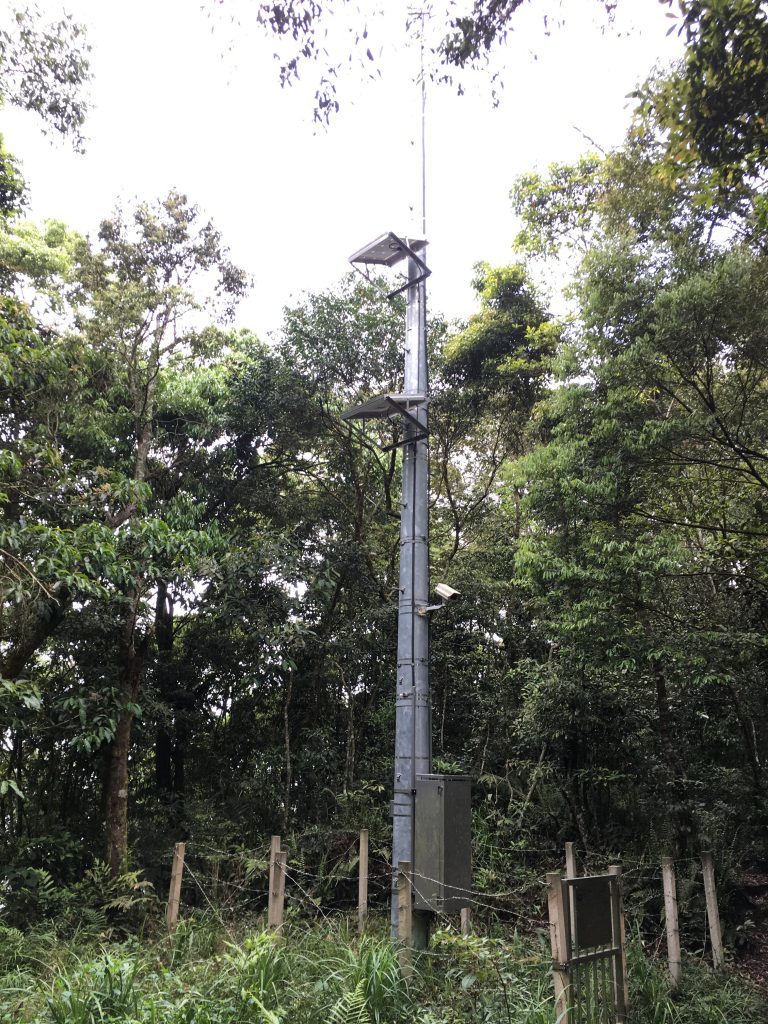
Wangzishan 網子山
This peak seemed to have the most activity. There’s a repeater station fenced off to the side. There’s a few tables with newspapers strewn across and some chairs.
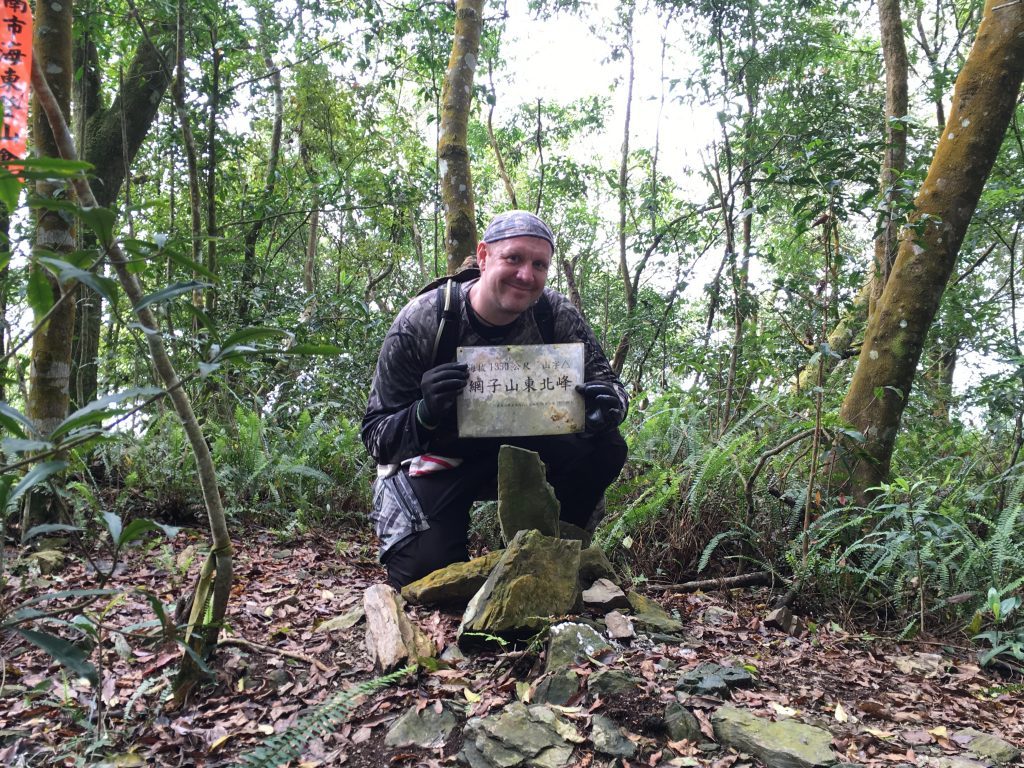
The next “peak” was Wangzishan Northeast peak 網子山東北峰.
I’m not entirely sure if it’s considered a peak because there was no marker like you see at other peaks. Just these stones configured into a makeshift marker along with a laminated paper with the name.
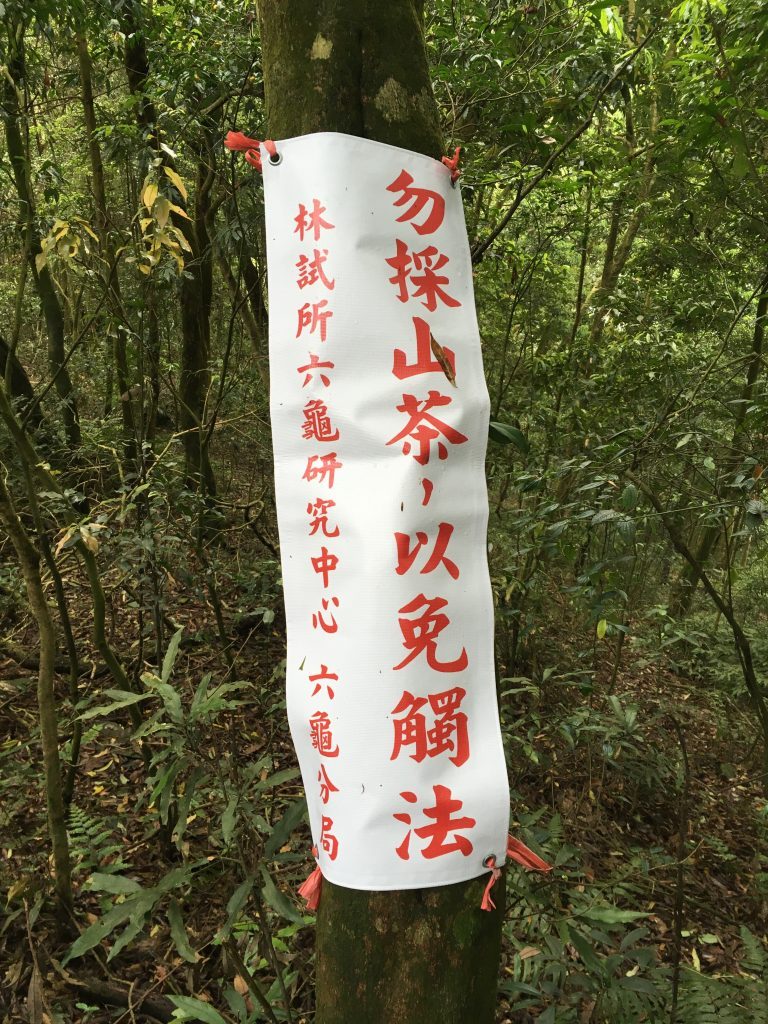
Along the way we saw several signs asking not to pick the tea leaves.
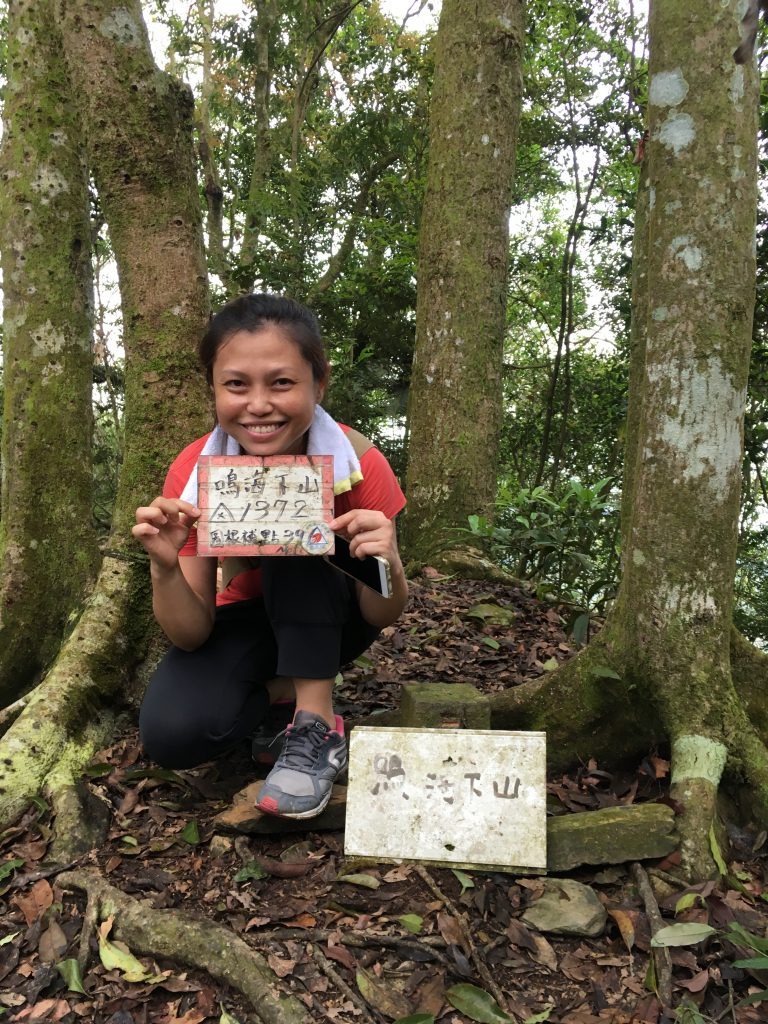
Minghaishashan 鳴海下山
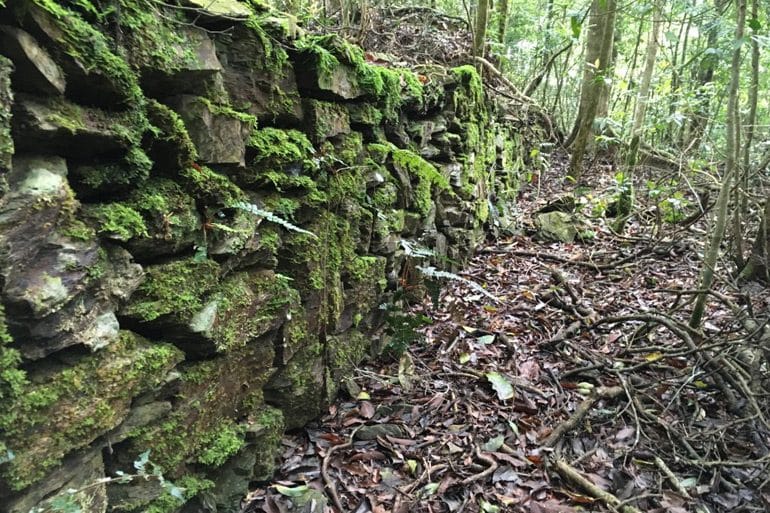
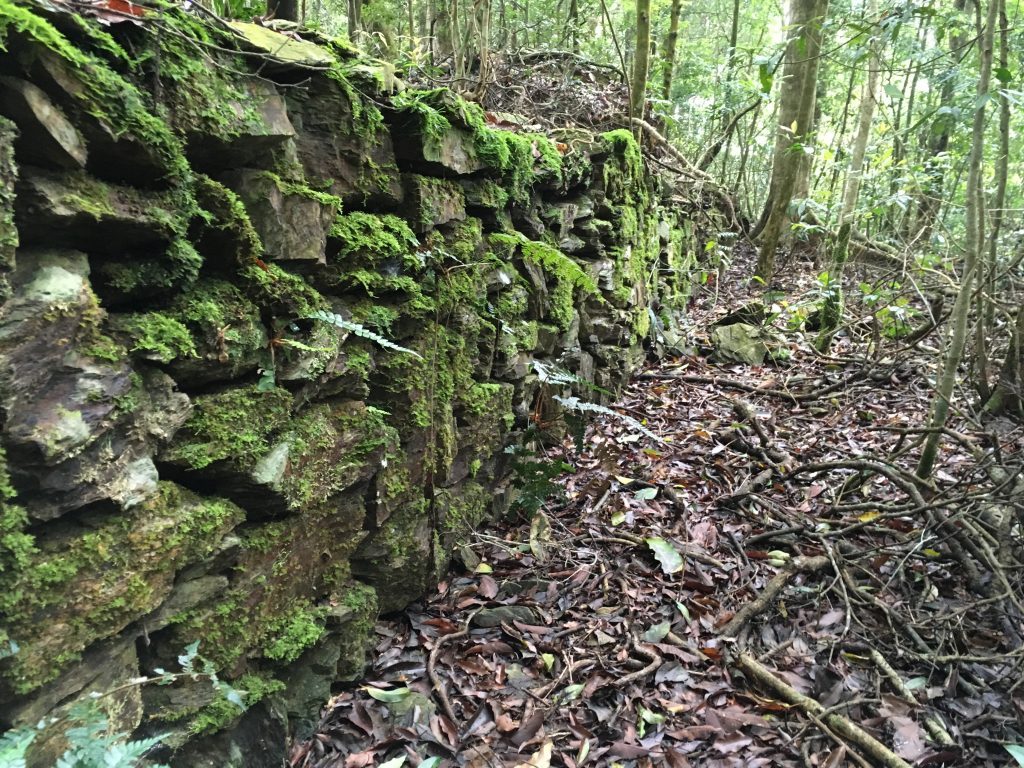
This was probably the most interesting peak to me. You have to go through a “doorway” or “hallway” of rocks that have been stacked on either side. Then up and around the top you’ll find the peak marker. (Alternatively, you could also skip going through and around the stacked rocks and just go straight up to the right side before the rocks)
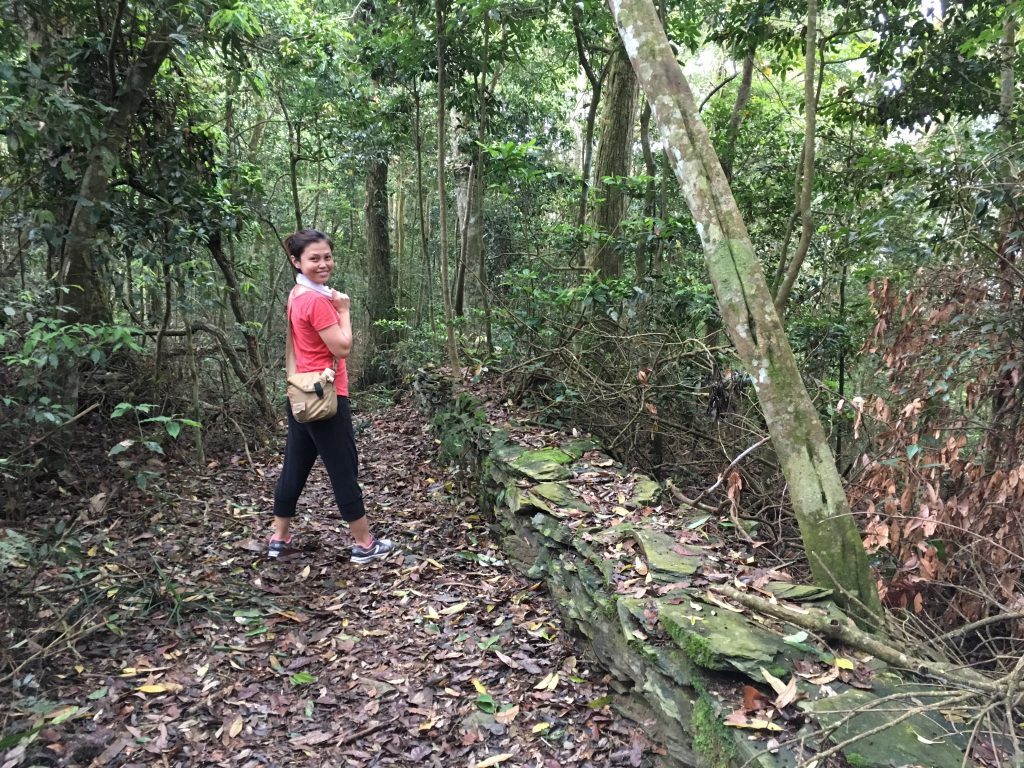
I found these stacked rocks quite interesting, as I knew they had a story to tell. All along the trail you would see these rock formations.
They obviously weren’t natural and they didn’t look like the style the aborigines use to make their traditional homes. So what could they be? My wife thought they were some sort of defense system; like a wall soldiers would hide behind to shoot at enemies. Turns out she was pretty close. This post by Tyler describes what they were used for. Pretty cool!
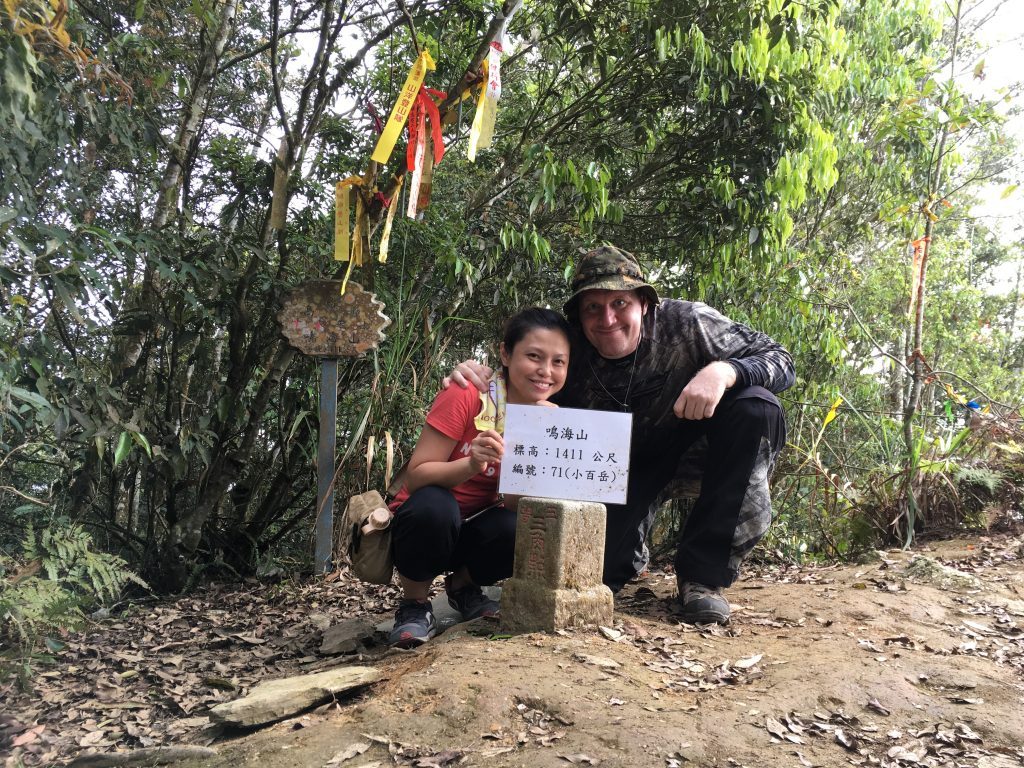
Minghaishan 鳴海山
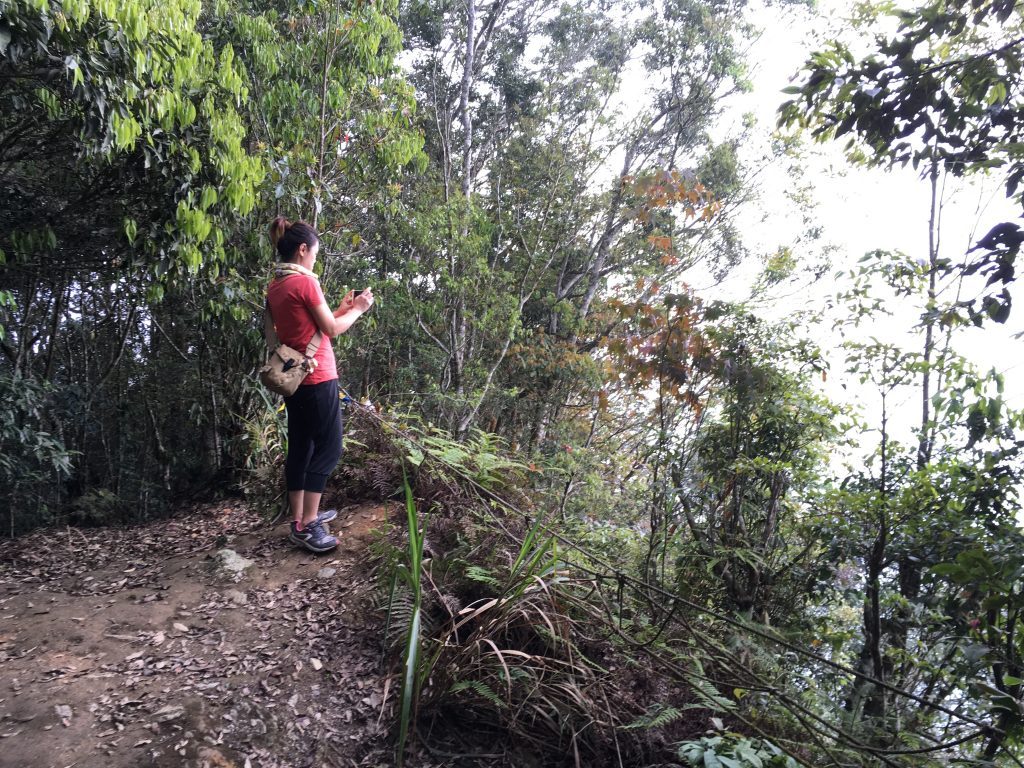
Just below the peak marker there’s plenty of space to camp. There’s even an old and mossy hammock someone strung up opposite the marker. Someone tied some rope near the edge for safety. Right next to the marker is an open area with a view. We were happy to make it but didn’t want to stay long; we needed to pick up our son from school. So after a bite to eat and a brief rest, we headed back.
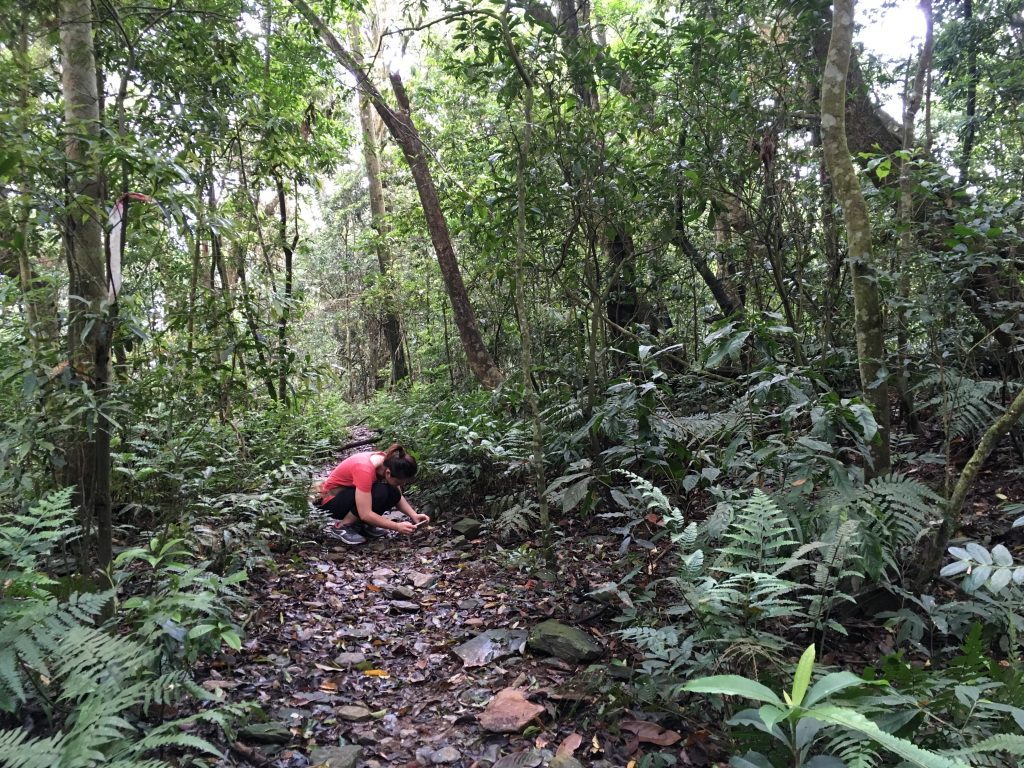
In total it took us 2.5 hours to get to Minghaishan, but we stopped to take a LOT of pictures.
The GPS route I downloaded before this hike showed that person only took 1.5 hours to get to the top. Our return trip took about 1 hour and 20 minutes – ten of those minutes were spent resting at Wangzishan. It wasn’t a hard hike at all. There were a couple leg-burning sections that a beginner might not enjoy, but if my beginner wife can do it, anyone can.
Lastly…views.
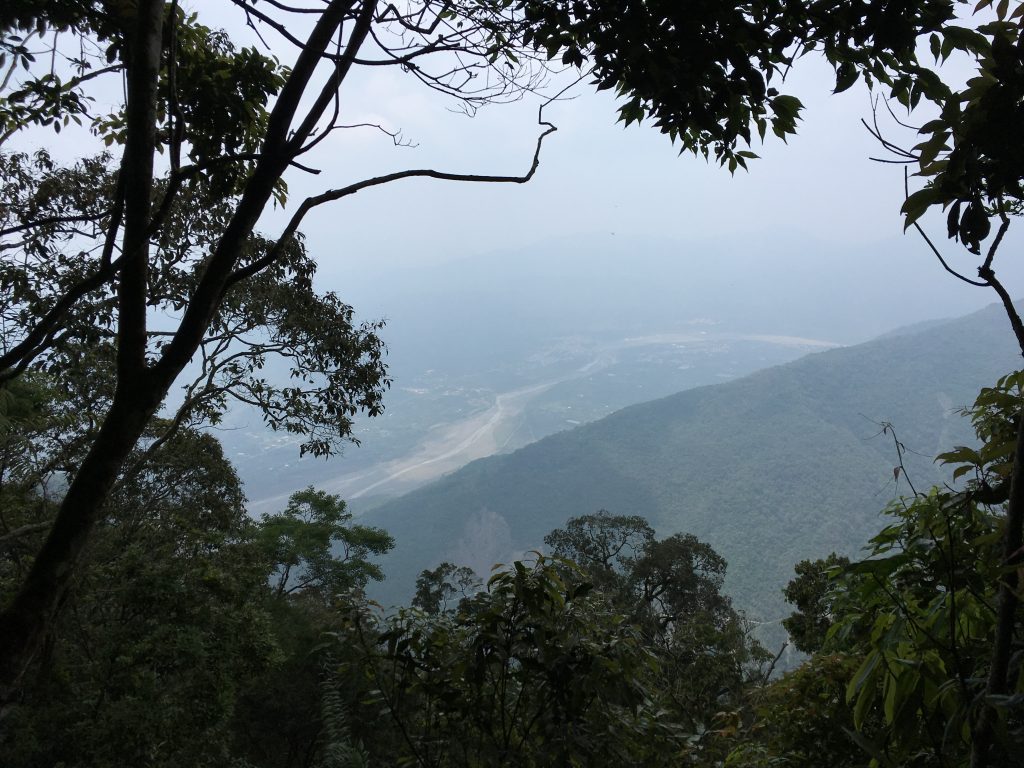
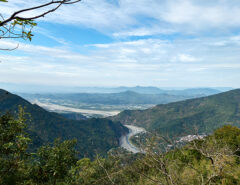
There are some great views on the drive up to the trailhead, but once you start the hike there aren’t too many. We were greeted with a hazy view and almost complete fog in the couple of places that offered a view. I’m sure there are a few more places along the trail you could get a nice view if you stray off the trail. For us that day, we just stuck to what was easy.
* I would recommend budgeting some time to visit an abandoned aborigine village nearby. https://goo.gl/maps/Awchkrvc3vo If you start your hike early and bring something to cook, this would make a wonderful spot to eat. There’s a gazebo and model traditional aborigine house. (I had thought it was a real house when I first saw it, but the roof has since fallen in and you can see the bricks that were used in the walls. Definitely not authentic) If you’re feeling adventurous there’s a trail off to the side of the house that takes you down to the old village. It’s really something to see. Quite awesome! In the map below you can see pictures of the village, as well as the route to get to the village. Also, just before you get to the village, there’s an old grave to the side (and down) of the road. I’ve never taken a look, but it seems to be maintained by someone. I’m curious who’s buried there. Let me know if you find out.
UPDATE: I’ve since gone back to the village and explored it more thoroughly. Here’s a write-up: http://outrecording.com/Yv2lX
And fair warning…I’ve been to that village many times over several years and it’s sometimes in a state of disrepair: grass tall as can be; road not drivable, etc.
Date Hiked: 2018 April 30
GPX Track Download Instructions: Click the track on the map to see the download link


![[Valid RSS]](https://outrecording.b-cdn.net/wp-content/uploads/2020/03/valid-rss-rogers.png)
1 Comment