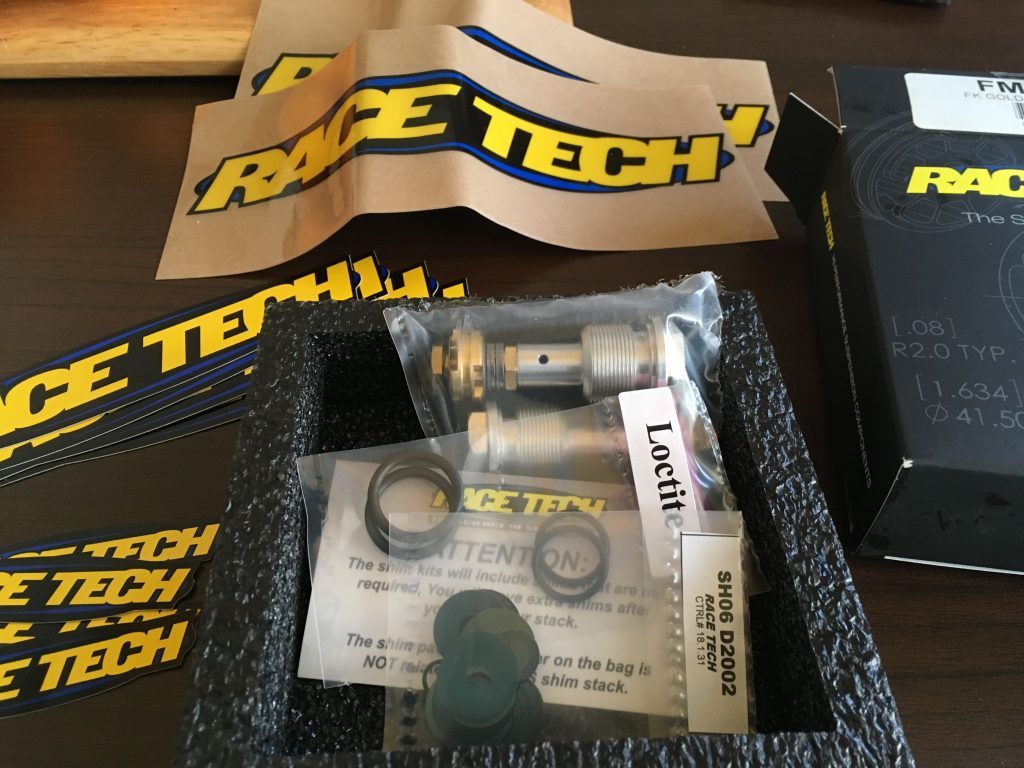
I finally got around to buying new valves for my front suspension, Racetech FMGV 2001 Gold Valves. Before they arrived I scoured the Internet for any helpful info on their installation. There’s plenty out there but I didn’t find any one post that specifically showed all of the steps involved on my bike. So I decided to write my own post on how to do it.
Before I start, let me get a few things out of the way. First, I may have missed some helpful guide out there that could have made my installation all the easier. I cobbled together info from Racetech, some from the KLX service manual, some from my membership at cyclepedia.com, etc, etc, etc. Second, I’m not an expert or even close to one. Let me repeat that. I’m not an expert. I’m just an average guy who likes to take my bike apart, mess up some things, cuss a good deal, and then fix the problem. I’m a layman giving advice to a layman. If you have any doubts, please don’t install them how I did. I used what tools I had at hand and did the best I could. If anything, this could be a guide on possible problems you might face if you choose to do them yourself. 🙂
Lastly, in reference to the above, I live in Taiwan and often find it difficult to source parts and special tools here. There isn’t a huge DIY culture here, so there aren’t a lot of shops selling the stuff I need. You can sometimes find the tools, but for me at least, it’s difficult when you don’t know the name of the tool in Chinese. So I often find myself trying to use homemade tools or tools not designed for the job. Buying overseas and shipping here can get real expensive real quick. If you can find the proper tool, please do. It will save you a massive headache.
OK, now that the disclaimer is finished, let’s get down to business!
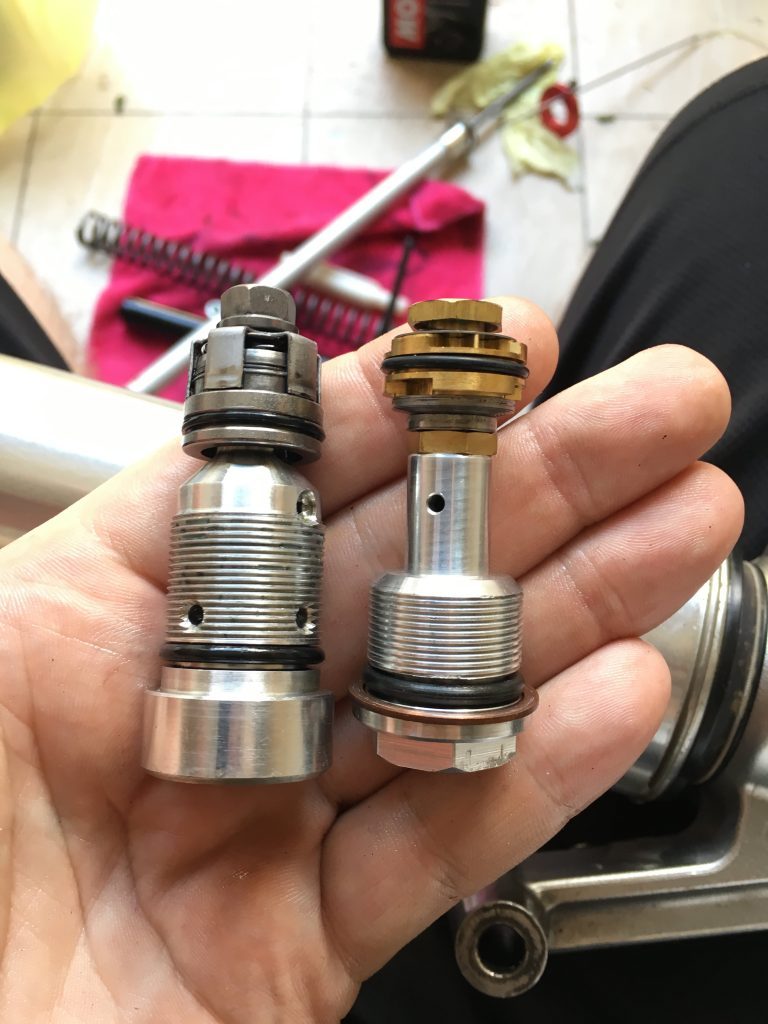
Beautiful, right!?
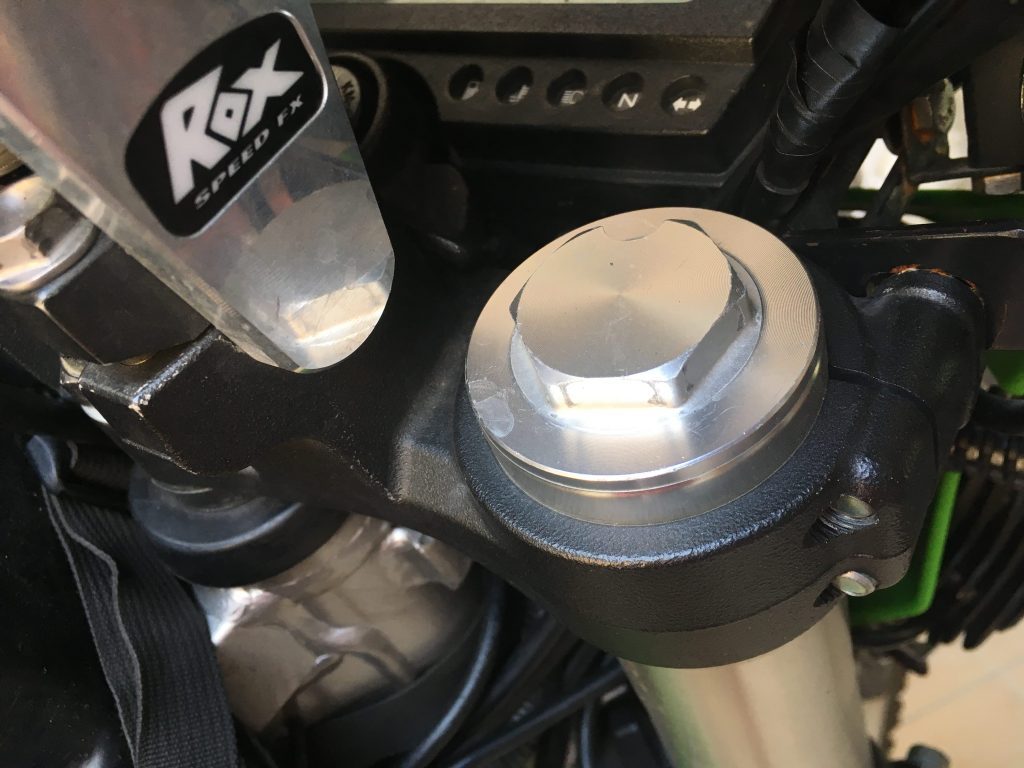
The first thing you need to do is loosen your fork caps.
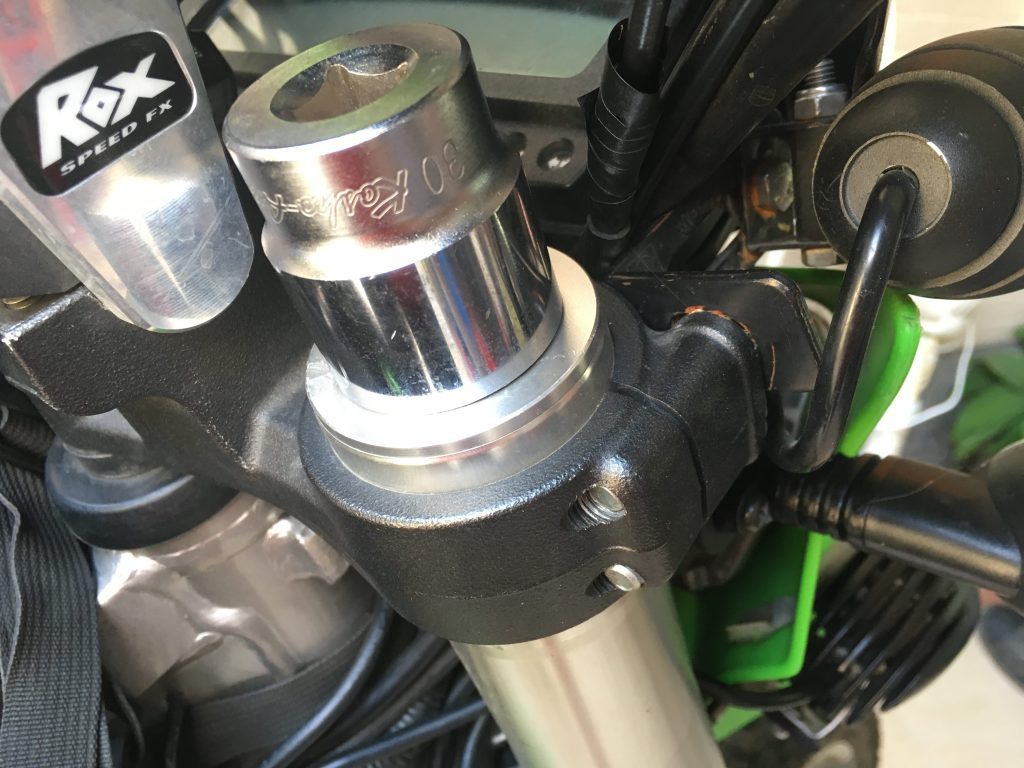
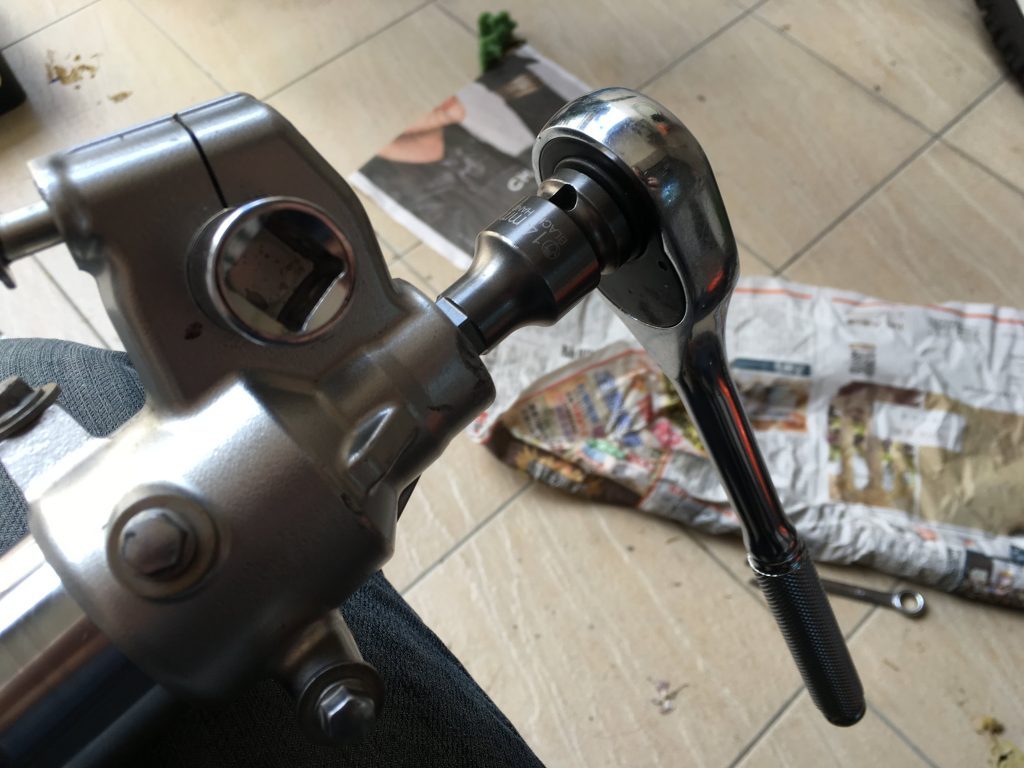
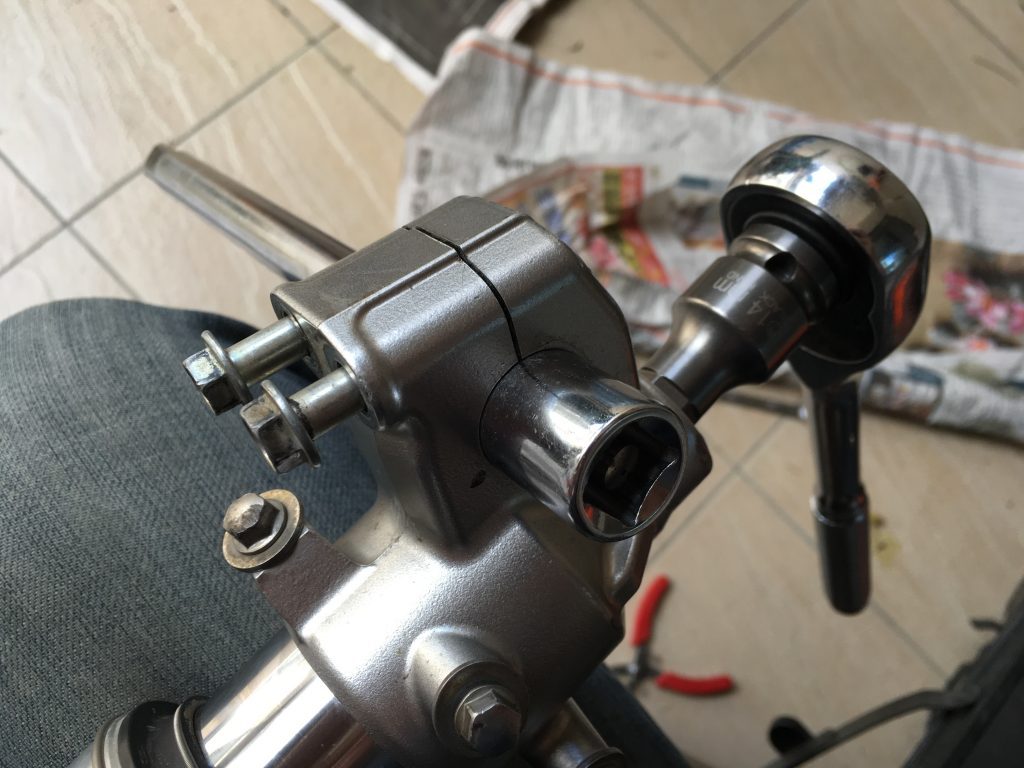
Unless you have a vice you plan on using later, they will be near impossible to loosen once the forks are off the bike. Heck, even if you have a vice, I would still loosen them first. There are special tools for this that will probably loosen them without buggering them up, but I’m not overly concerned about the appearance of my bike (it’s partially made for romping in the dirt, right!?) so I used a typical socket.
It works just fine, but probably won’t leave your caps looking all that perfect.
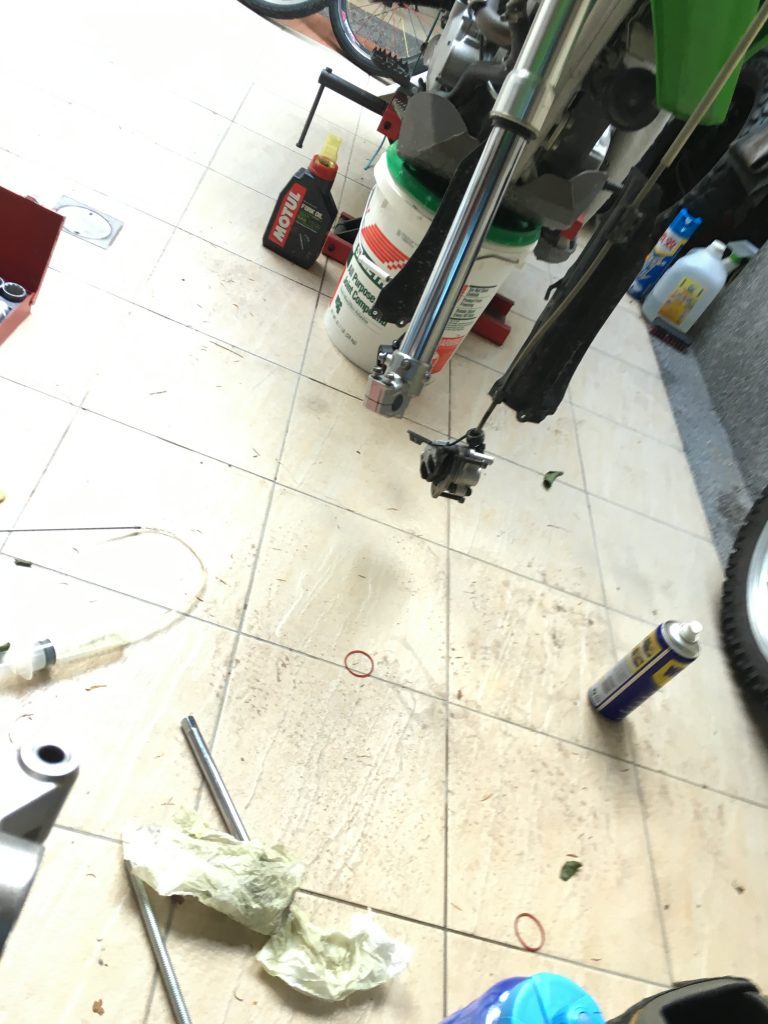
If you haven’t done so, go ahead and get your bike up off the ground and remove the fork(s). I used a small jack and old bucket.
Once the fork(s) is off the bike, completely unscrew the fork cap.
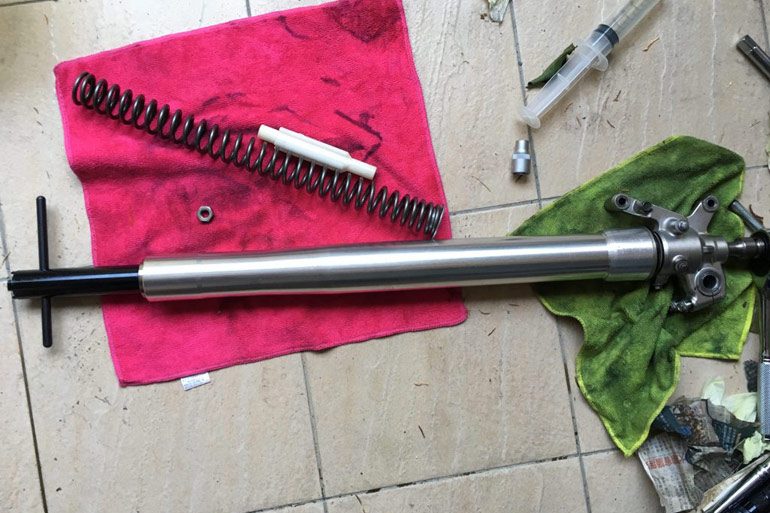
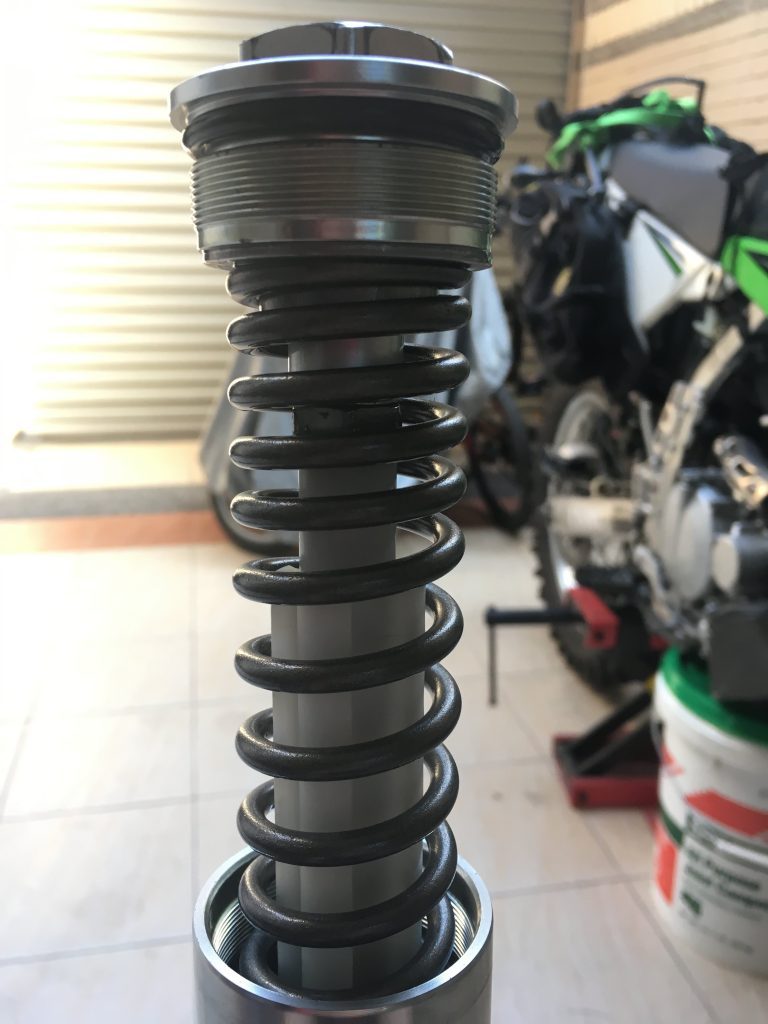
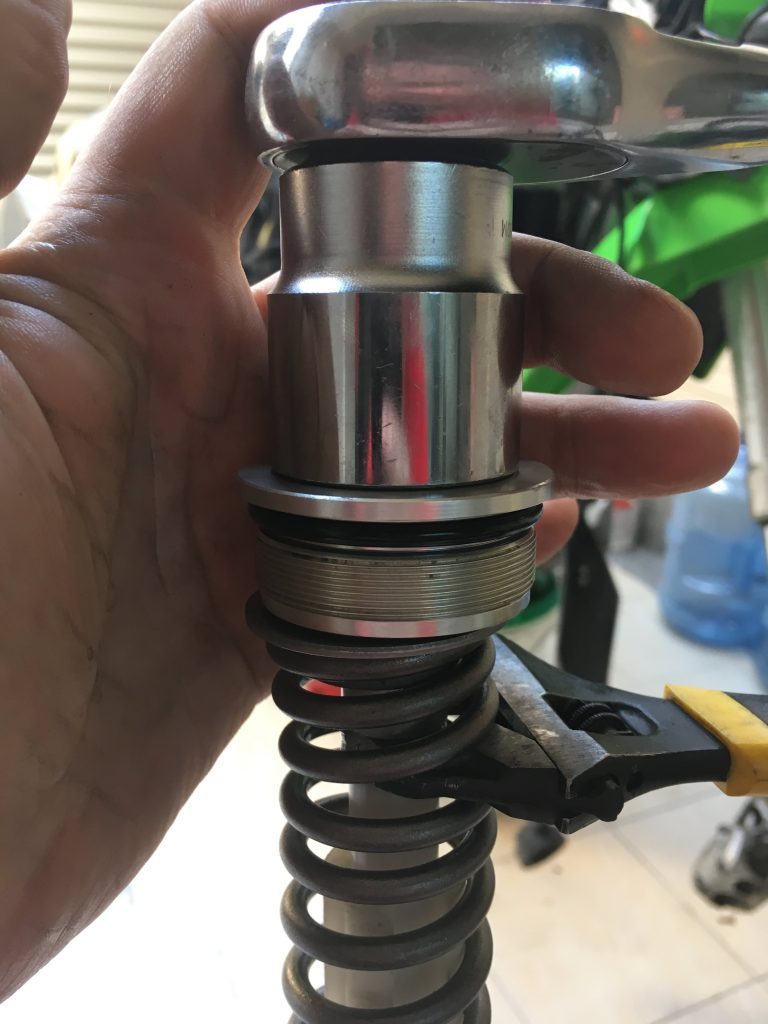
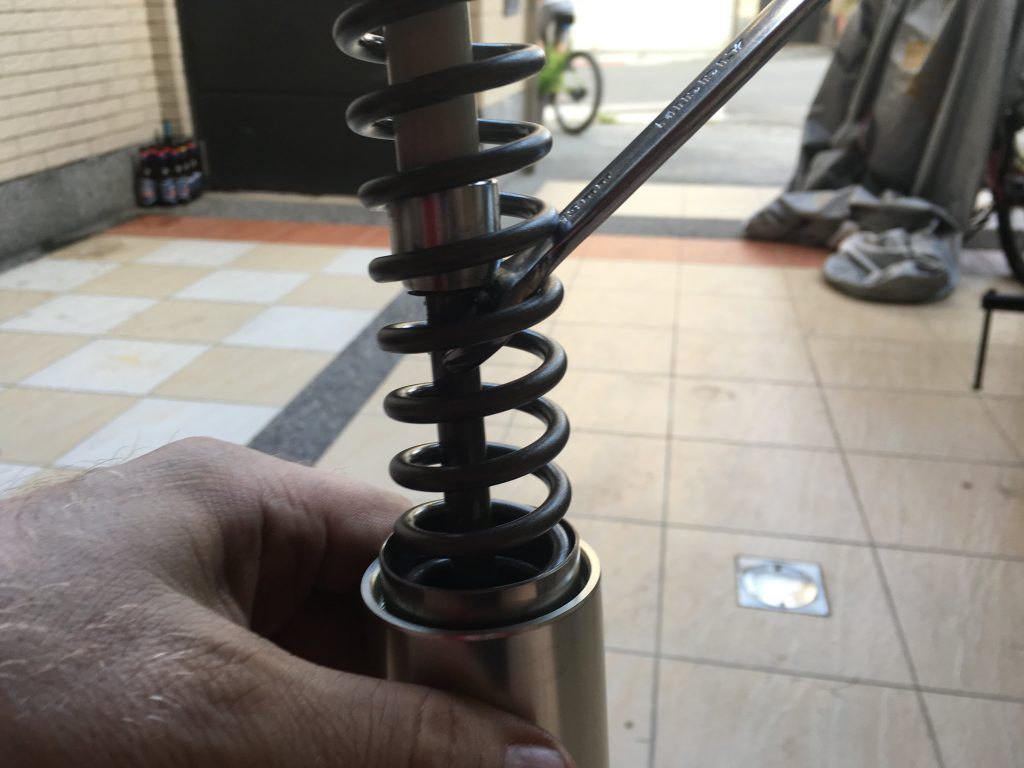
There’s a bolt between the spring guide (white plastic thing inside the fork) and the fork cap. It will prevent the cap from being unscrewed from the rod. For this there’s a special tool called a “fork spring holder” basically it pushes down on the spring so you can easily get a wrench in there. I wasn’t about to start searching for this tool so I decided to look for a low profile wrench…which I didn’t have in the right size. I opted for an adjustable wrench which REALLY isn’t the best tool for this job, but it worked.
You might have noticed that my spring is different from the stock spring. I put new springs in a while back. As I recall, the stock spring was a little easier to get the wrench into.
After you remove the cap, the piston will slide down into the fork and you can pull the spring out. Now is the time to empty the fork oil. You’ll need to pump the piston up and down several times after you empty it to help the oil from the bottom make its way out. If you have the time, I would screw the cap back on and let it sit upside down for a good hour.
This next part is what caused me a whole lot of problems.
The compression valve is at the bottom of the fork. You’ll “simply” need to unscrew it. Hahaha…yeah, right.
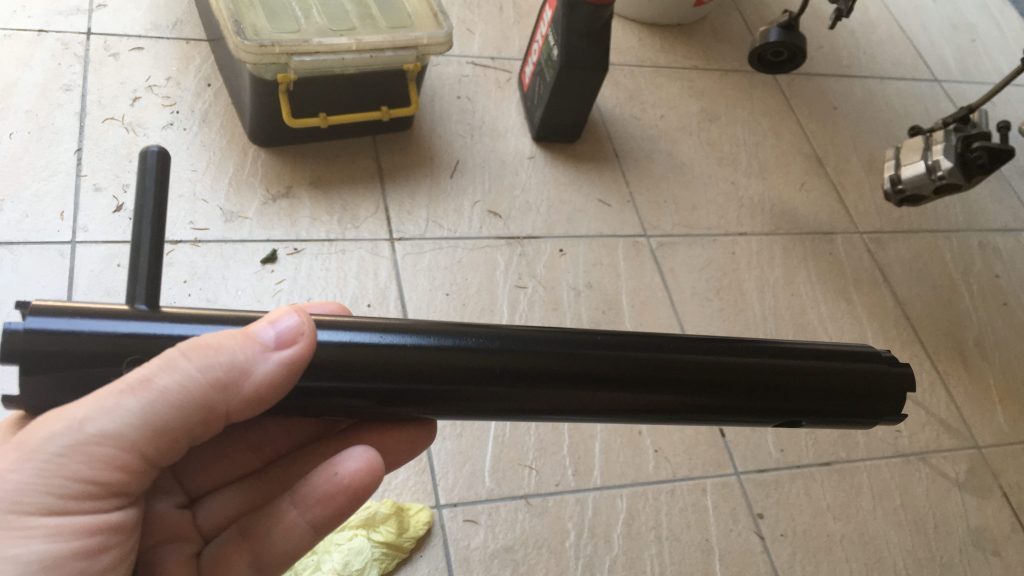
This is where a vice and a special tool known as a “fork cartridge holding tool” will make life so much easier. I HIGHLY recommend you buy the holding tool.
You can get the valve out without one, but getting it back in to proper torque specs will be damn near impossible.
What happens is, as your unscrew the compression valve, it initially starts to loosen. But as some point no matter how much you unscrew it, it just won’t come out. The valve is screwed into the cartridge which is spinning inside of the fork tubes. The only way to effectively keep it from spinning is to use the above tool. Those notches at the end fit perfectly into the cartridge to keep it from moving.
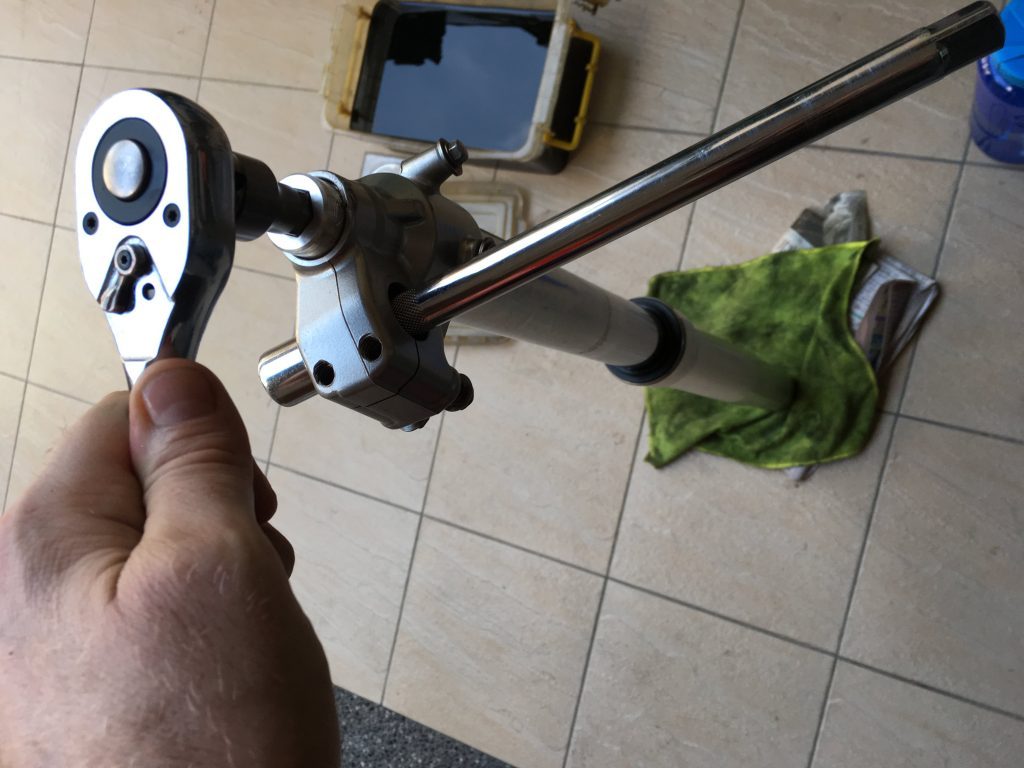
For the first fork I didn’t use this tool. I had found some methods of getting it off without using the tool. One mentioned putting pressure of the piston rod (bending it at the end) while trying to unscrew. This didn’t work for me. I had to do this all alone, so I stuck a socket extension into the hole where the axle goes and wedged that onto my leg to keep the tube from turning. It was cumbersome but effective. Then I tried the above method.
The second method I found said to put the spring back in, compress the shock, and try to unscrew. When compressed, the spring will put some force onto the cartridge and might just be enough to get valve out.
Again I used the socket extension. I sat on it and pushed down as hard as I could and voila, the valve eventually screwed off! If you have something longer than an extension that you could use, do it. This thing hurt my ass something awful.
I should also mention that I read you can whack a few times on the old valve to help initially loosen it. I found that it did help. But don’t overdo it!
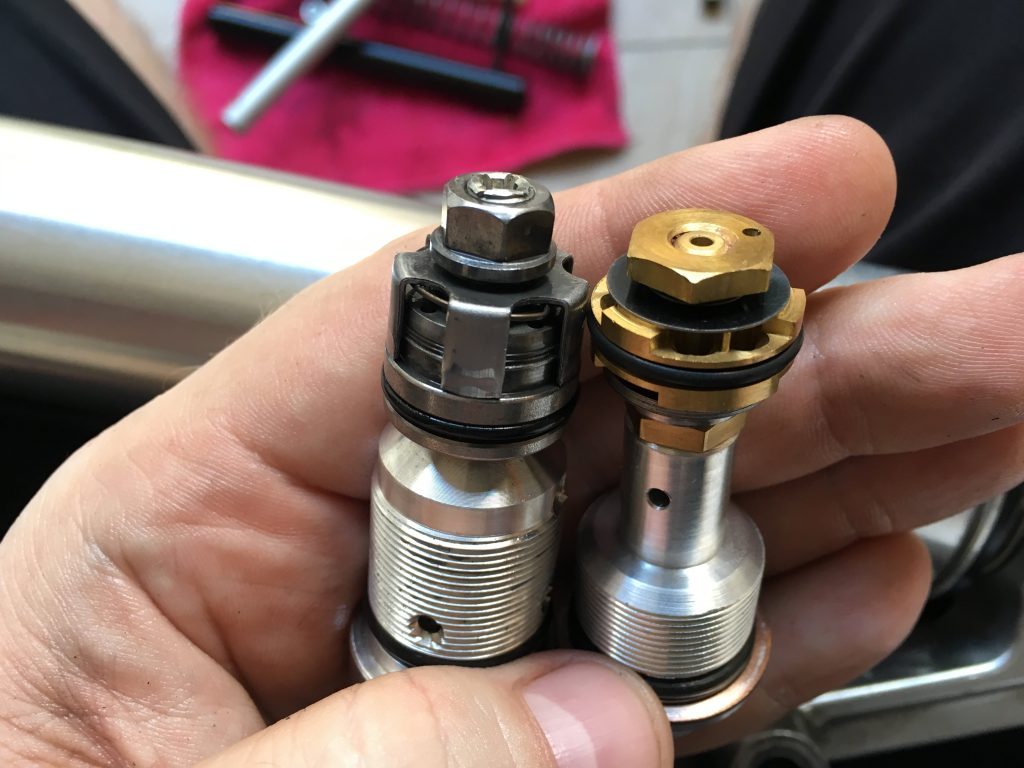
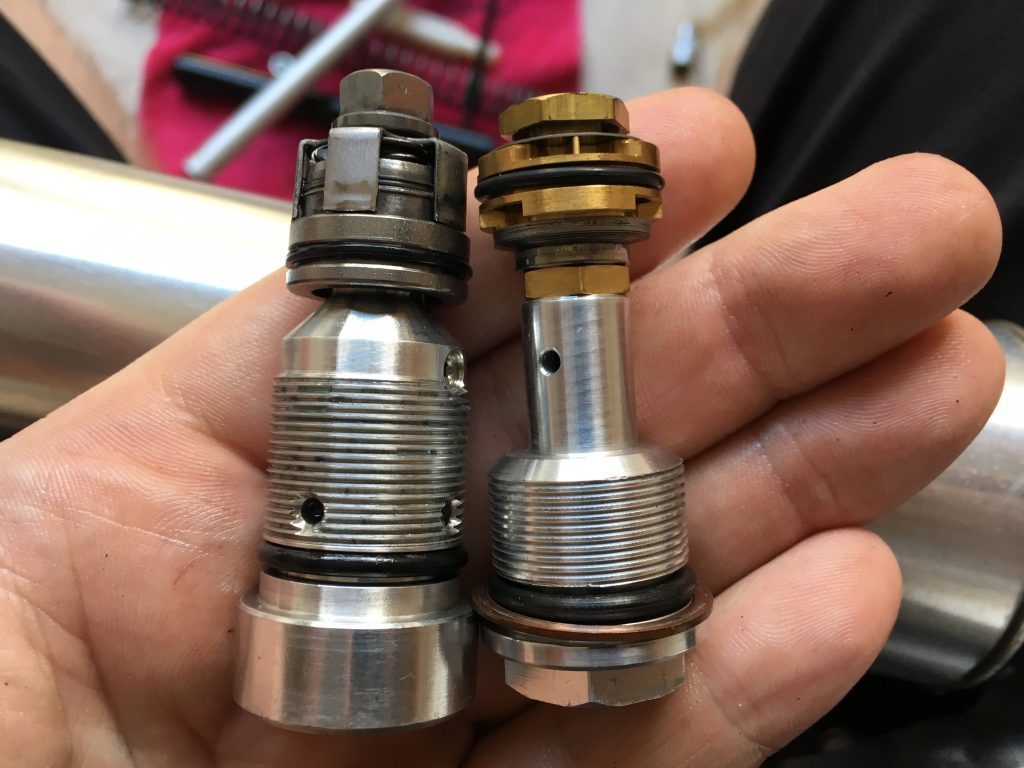
Now that it’s off, go ahead and compare it to the gold valve and stand there in awe for a few minutes.
I’m assuming you have your valve stack on and the valve is all ready to go. If not, I’m sorry. I’m not going to get into how to set up the valve. Racetech has a bunch of good info and there are plenty of guides and vids explaining it. But to try and be somewhat helpful, here are the videos that helped me out the most.
This guy explains very well about Racetech valves and how to put on your stack and other bits of good info:
Here are the Racetech videos explaining the whole process. They helped me out a lot.
Installing the Gold Valves is what got me all ticked off and ready to throw something. As I explained above, the valve screws into the cartridge. You can get it screwed in pretty good from the get go, but again, at some point it will just keep spinning. I tried the compression method I used to remove them, and it helped screw them down a bit more, but still not even close to torque specs. And that was the major problem, the service manual says to torque them to 40 ft-lb. That’s pretty darn tight.
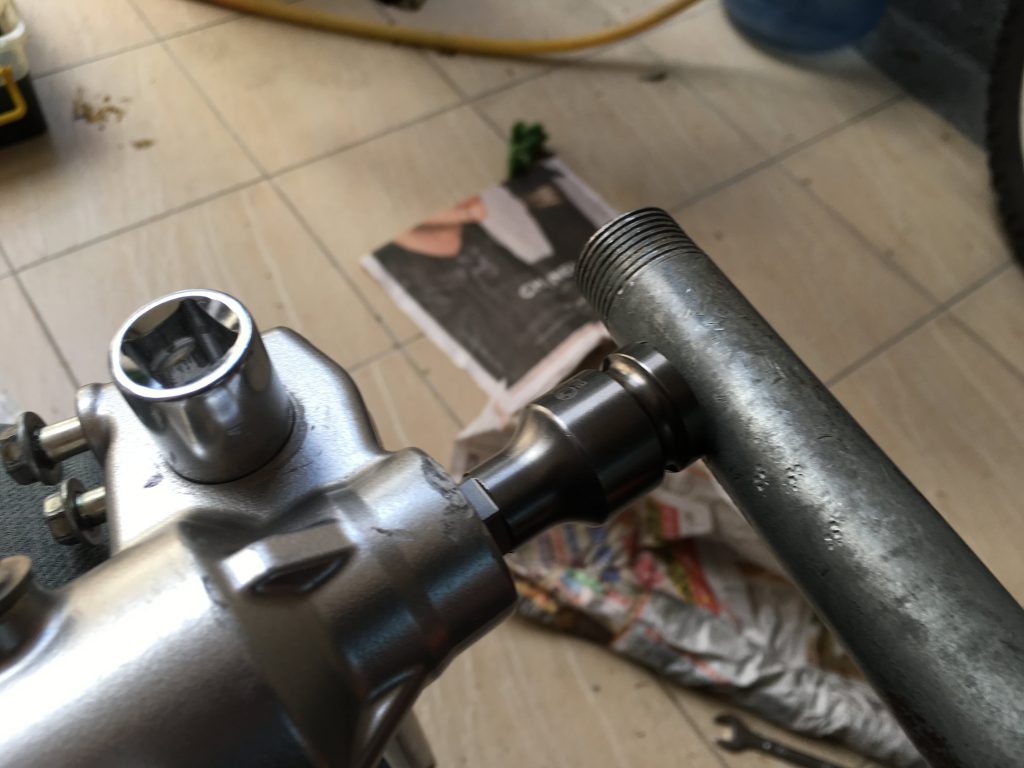
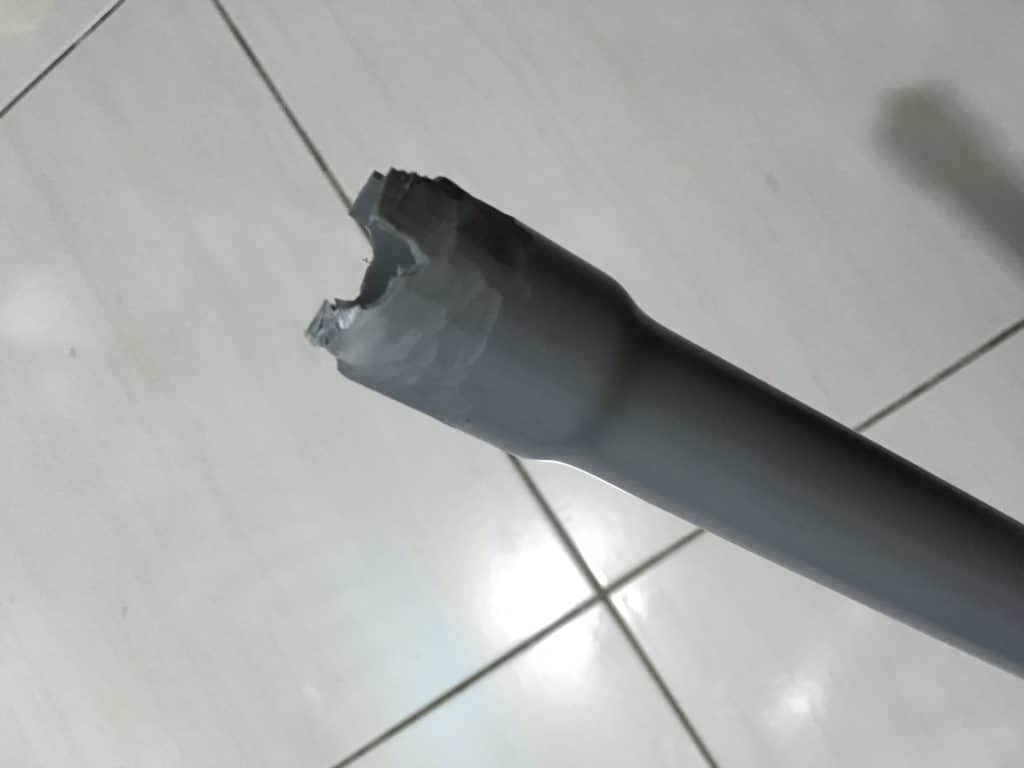
Me being a stubborn guy and hating to delay a project, I tried to make a cartridge holder out of a PVC pipe. I had read of people using them successfully so gave it a shot. Unfortunately it failed miserably. The plumbing store had every size pipe you could imagine. But nothing the exact size I needed. I went with something that was just slightly too large and ground down the edges a bit. After cutting it with a grinder, it fit into the cartridge just fine…but wouldn’t work. I had someone hold the PVC pipe but as I tried torquing it, it started bending.
Here’s what’s left of the pipe after a few tries.
I think it might have worked if I didn’t need to grind it thinner so it would fit. But as it sat, it wasn’t strong enough. To make matters worse, little bits of the PVC slivered off into the fork. I needed to pour oil back in to try and get them out.
And to make matters even worse than that, all the attempts at screwing that valve in was taking its toll on the valve itself. The end was nearly rounded off. Those things must be made out of swiss cheese for how easy they are to strip. It’s my fault, but be warned…that aluminum won’t take much.
Defeated, I broke down and bought the cartridge holding tool. It took me some time to find it and get it delivered, but it was worth it.
Using the tool made it super simple. You’ll need to remove the nut and spring guide before using it. I managed to torque it to spec, but in doing so pretty much destroyed the end of the valve. I have no idea how to get that thing off if ever I need to. Luckily Racetech’s stack recommendation was spot on. Also, the tool I bought was a no-name tool. The black paint chipped off a bit while using it. Just like with the PVC slivers, I needed to pour some oil back inside to help get them out.
On a side note, I used the holding tool to remove and install the valve on the other fork. It was almost effortless. I didn’t even need help getting it torqued. So please do yourself a favor and buy that tool before you start.
After you get the valve installed, set your oil level. There are plenty of great videos and guides on how to do this. The service manual also covers this in detail.
Once your oil level is set, drop the spring back in. This is where the special “piston rod puller” tool would make things go a bit quicker. It’s simply a long rod threaded at the end that screws into the piston rod. Once it’s screwed in you pull the rod up and go to the next step. I didn’t have this tool so I came up with another way.
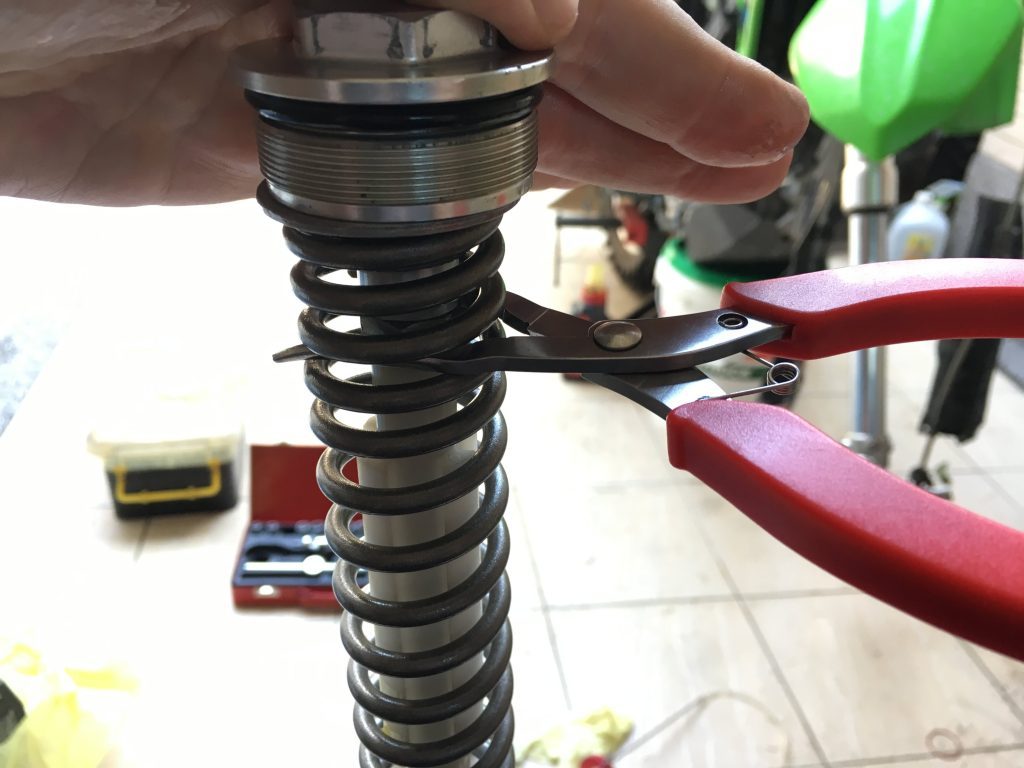
I used a wrench to hold the bottom. This will keep it dropping back down. Wedge it in like the picture below, push down on the wrench and use small pliers to grab the rod at the top. I used the red pliers two pictures down. Pull out the wrench, and repeat until the rod is all the way to the top. Be careful that your pliers don’t mess up the rod’s threading.
It takes a minute or so but it works.The rod will be high enough now that you can start screwing in the cap.
The cap will screw on almost fully, but not quite. The best I could do was use some thin pliers to hold the nut so I could tighten the cap. A proper wrench would be better but again, I didn’t have the right size.
Once the cap is tightened, pull up the fork tube and tighten it as far as it can go. Reinstall the fork and finally torque the cap and your’e done!
I hope this was useful. It’s really pretty simple, especially if you have the right tools. And please remember, I’m no professional!



![[Valid RSS]](https://outrecording.b-cdn.net/wp-content/uploads/2020/03/valid-rss-rogers.png)
發佈留言